


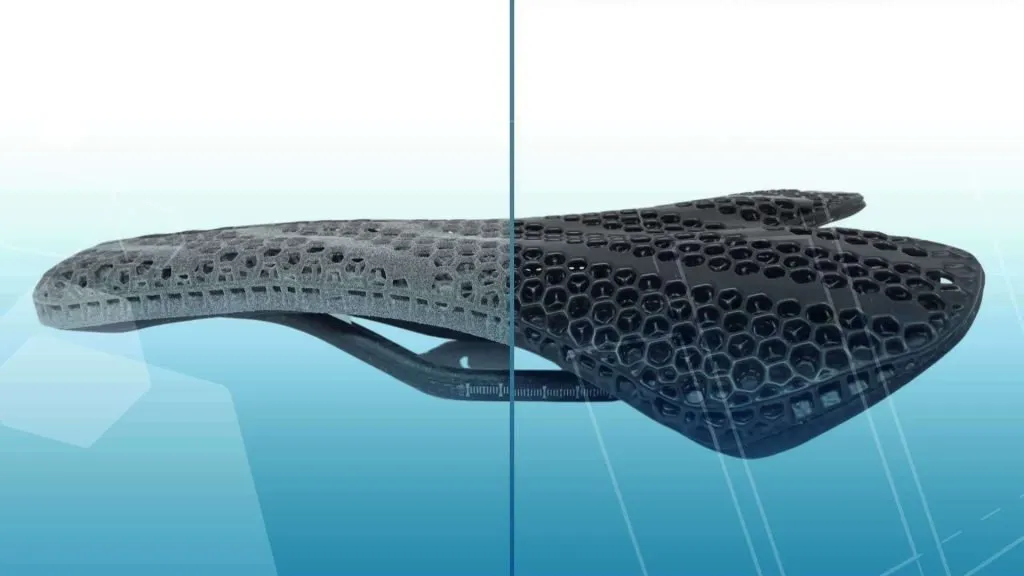
6 Advanced Fused Deposition Modeling 3D Printing Tips
Stratasys Fused Deposition Modeling 3D Printing utilizes real thermoplastic resins that are strong materials for real applications. FDM is a premier choice for creating complicated parts that need to stand up to repeated use, drilling, tapping and getting banged up.
Watch the video below to learn six Fused Deposition Modeling 3D Printing tips and techniques for your next project:
Tip 1: Belt Pulley and Roller Chain Sprocket
In this first example, we have an application where we have two different-sized belt pulleys that are driven by a roller chain. These are going to be mounted to a common shaft and want them to take up as little space as possible. Typically, you would purchase the components separately online and modify them to fit your application.
That would require waiting for the parts to be delivered. Once delivered, the parts will have to be machined to remove a boss, maybe add some holes and mill the center hole diameter to the right size. This is a lot of work. We would also need to modify the sprocket and the other pulley. Then we would need to figure out a way to merge all three components. Overall, it’s not a great or easy solution.
Now, when I see a problem like this, I look at the design goals of the part. I look at which features need to be made from metal and which features can be eliminated. I try to think of a better way to make this part with additive manufacturing technologies. I know I want roller chain sprocket to be made of metal because there’s a lot of force and resistance on that part. However, I’m confident that if I use FDM plastic as the timing belt pulley, this part will be as strong as it needs to be.
Using CAD models from the manufacturer’s website, I designed this part below.

Sprocket Parts
Not only can 3D printing help us design and iterate faster but it can also allow us to create parts and products previously thought impossible. Once we’ve created a design, it can easily be copied for producing multiple parts. We end up with a functional part that incorporates metal and bearings where needed while requiring no machining or post-processing.
Tip 2: Captured Hex Nuts
Try using drop-in captured hex nuts next time instead of threaded heated inserts. Hex nuts are more widely available and much cheaper than brass inserts. And using this technique, there will be more resistance to rotation and more resistance to pulling out in both directions. Dropping these into the middle of a build can also be faster than adding heat-set inserts later. Consider this option the next time you need repeatable strong threads in a 3D printed part.

Drop in hex nut
Also in this part is a fully captured bronze bushing insert. Press it in and print right over it. The idea here is to recognize that you aren’t just limited to plastics. When 3D printing, you can still use and incorporate your metal, plastic and composite hardware into 3D printed parts to get the best of both worlds.
Tip 3: Overhang Features
In the third tip, we are going to look at a part that has some large overhanging features that would require a lot of support material when 3D printing.

3D Printing Overhang Feature
There will need to be a considerable amount of support material used here. The amount of support material adds a lot of time and cost to this part. But consider this with FDM technology and the help of Insight software, I can break this model apart and assemble it mid-build, allowing for almost no support material and reducing the build time by 50%.
These internal baffles were printed separately flat on the build plate. The print job is paused at a point that we determined ahead of time. One of the baffles is removed from the build plate. Flipped upside down and inserted into the top of the build. The printer then continues to print on top of it. We do this again for the second baffle and a few hours later we have a complete part that printed in half the time and saved tons of support with very little post-processing.
This is a breakthrough technology that isn’t possible with any other 3D printing technology. I genuinely believe FDM is the most advanced, diverse and useful 3D printing technology out there.
Tip 4: Inserting Roller Chain
Thinking further outside the box. We can insert a section of roller chain into a nylon FDM part. This application will help speed up the mock assembly of real metal components that will be added later.

Roller chain part
Tip 5: Adding Steel Mesh
This application requires a continuous section of tubing but also needs steel mesh on either end for filtering out large particles. Using the power of Insight and Fortus 3D printers, we are able to pause the 3D printed build and insert some off-the-shelf mesh discs to create a part that couldn’t be made any other way.

Steel mesh in 3D printed part
Tip 6: Carbon Fiber Rod
One of my favorite parts is a quadcopter arm. We found that we needed to increase strength and reduce deflection on this part. We accomplished this by cutting some pieces of carbon fiber rod to length and inserting them into the channels of this part and embedding them in 3D printed plastic. The resulting part is incredibly strong, thanks in large part to the carbon fiber rods inside.

Printed carbon fiber rod
Fused Deposition Modeling 3D Printing Service
Need your CAD models 3D printed? Try our FDM 3D printing service and choose from a variety of FDM materials.
Manufacturing Services
Interested in Advanced Manufacturing?
Contact us today and tell us about your manufacturing requirements