


Creating a precise F1 Car 3D Model with an Artec 3D Scanner
Tool manufacturer needed to make a scale 3D replica of their F1 car so it could be 3D printed at a size of approximately 300 mm.
Related Topics
Solutions featured in this Case Study
 3D Scanners
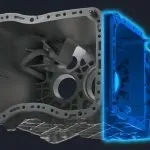 Design Your Products
 Digital Manufacturing Solutions
Tool manufacturer needed to make an F1 car 3D model so it could be 3D printed at a size of approximately 300 mm.
Artec’s 3D scanners are indispensable tools, used throughout all of product’s lifecycle stages. Ranging from creating prototypes to reverse engineering, or making a 3D model for quality control analysis of data, 3D scanning is vital to achieving the fastest workflow. Artec’s 3D solutions provide both impressive accuracy and the ability to capture an object in 3D at speed, while the smart post-processing software, Artec Studio is able to handle large amounts of data automatically in order to create the 3D model.
Moreover, due to the portability of the 3D scanners, they can get to an object’s hard to reach places. Using 3D scanning for reverse engineering was recently demonstrated in a project initiated by a Birmingham-based tool manufacturer that tasked Artec’s British partners Central Scanning and a leading supplier of CAD & CAM solutions Delcam with making a scale 3D replica of their F1 car so it could be 3D printed at a size of approximately 300 mm.
The car was 3D scanned and the collected data was processed in Delcam’s advanced reverse engineering software package PowerSHAPE. The main body of the car was captured using a Steinbichler Comet L3D, and then the driver’s cockpit, steering wheel, wishbone suspension, rear spoiler, wing mirrors and areas that could not be easily reached with Steinbichler Comet were 3D scanned with the powerful Artec Eva.
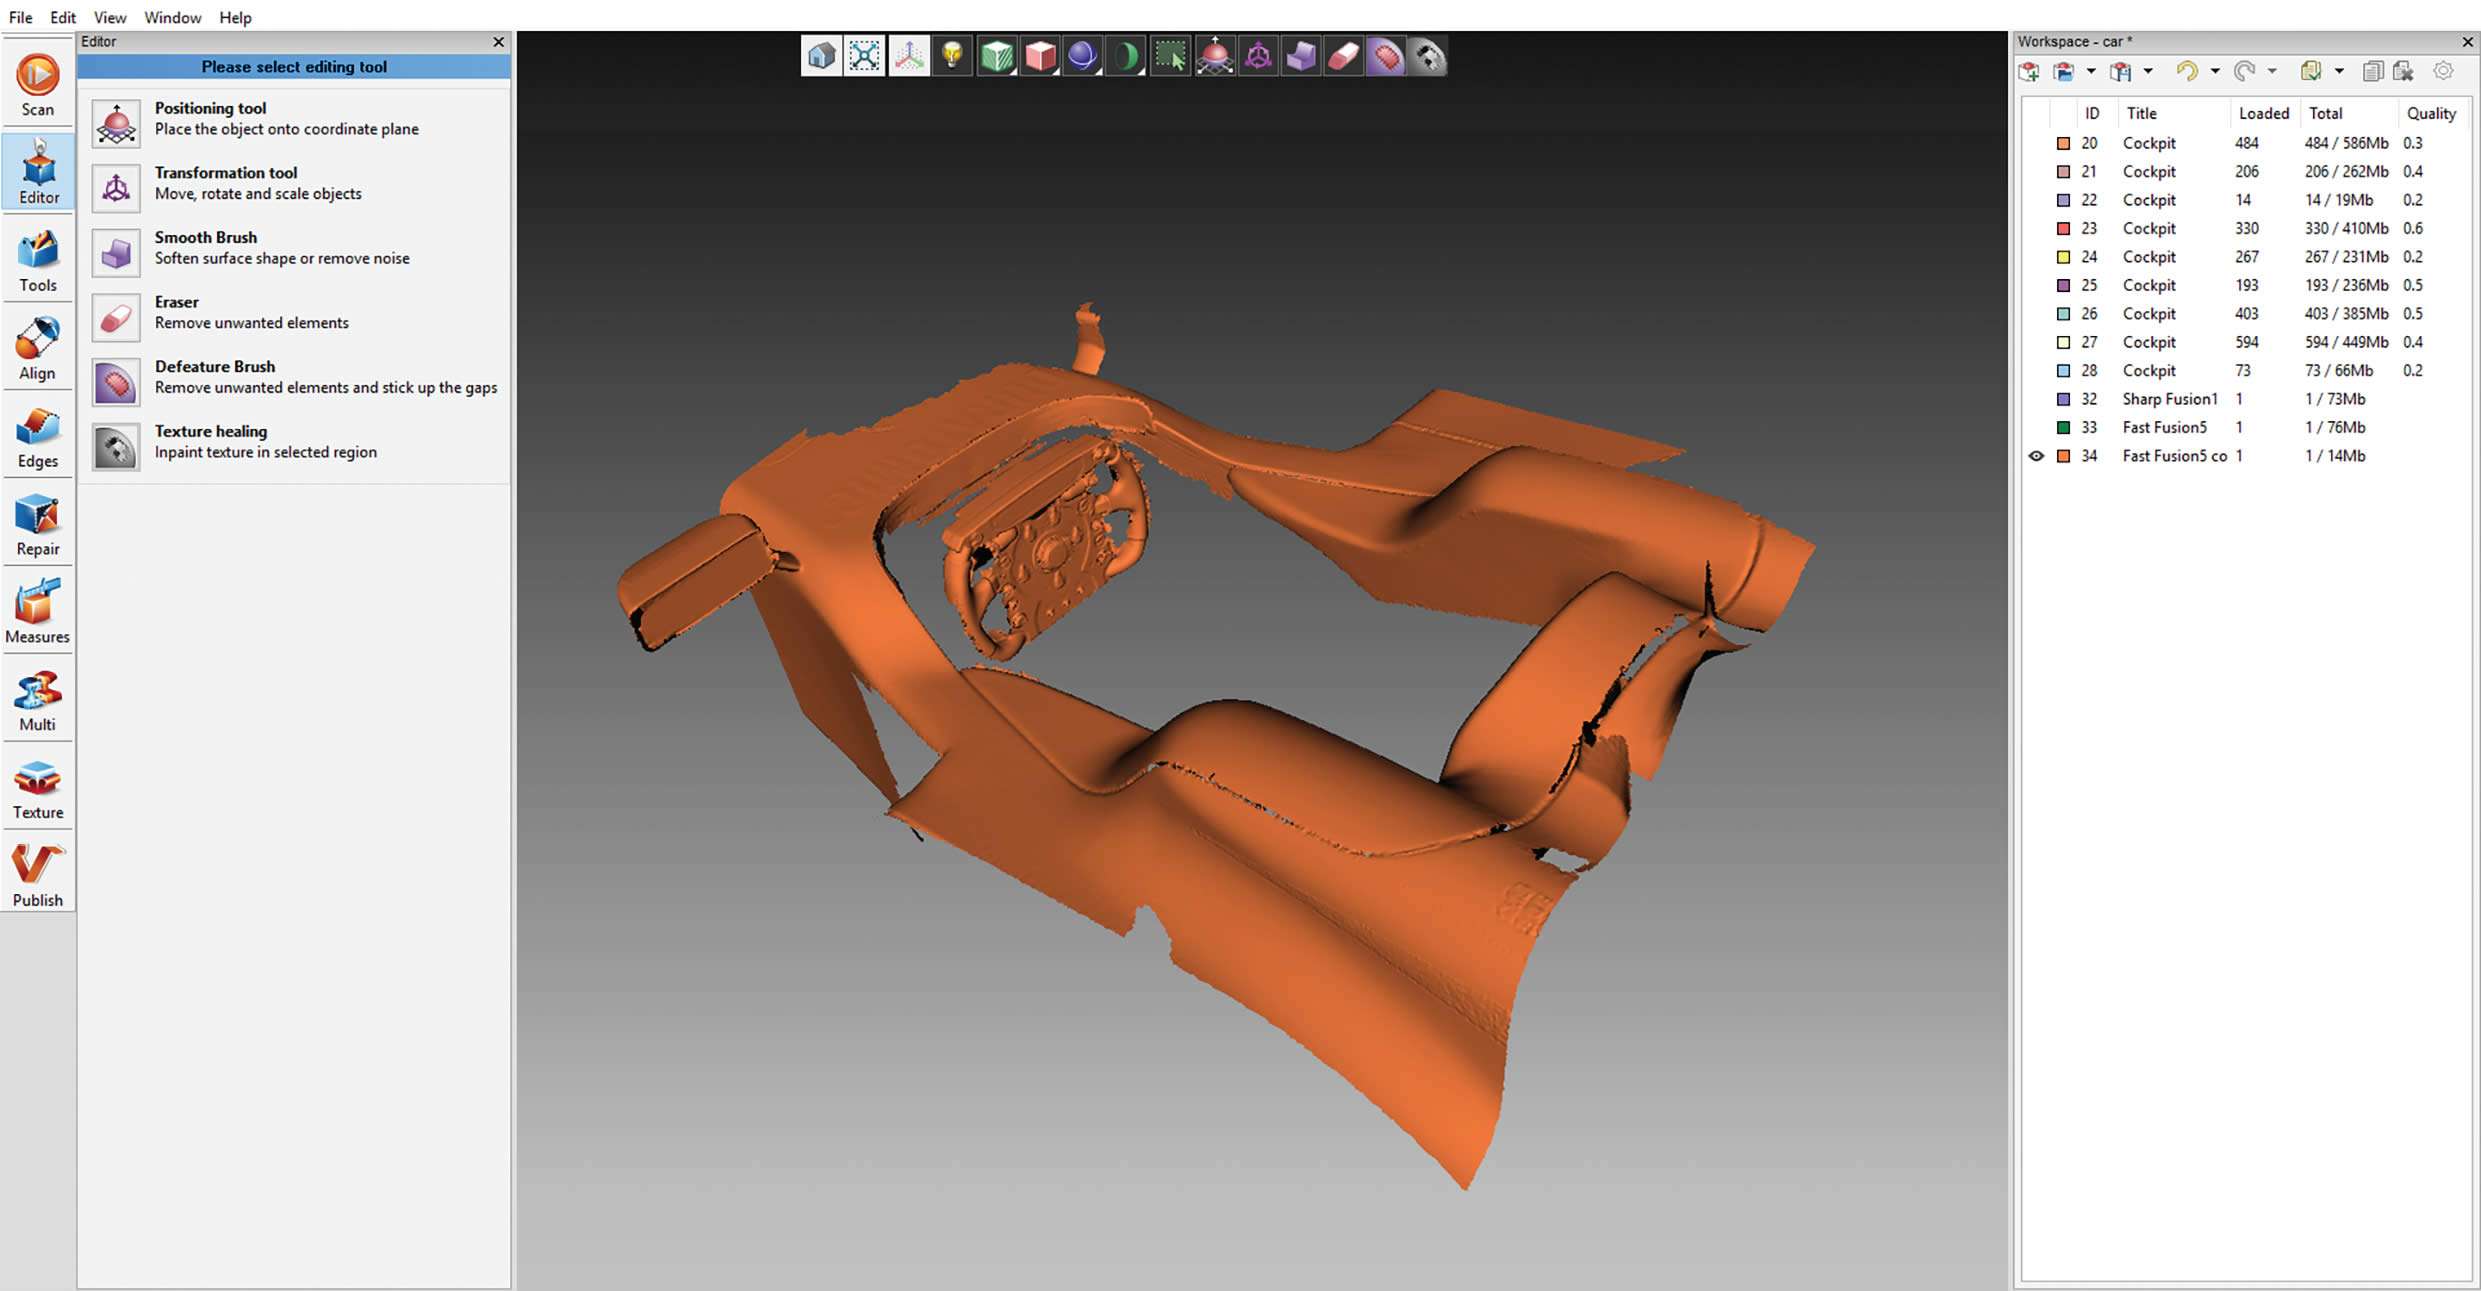
Part of the cockpit captured with Eva in Artec Studio
Scanning for the F1 Car 3D Model
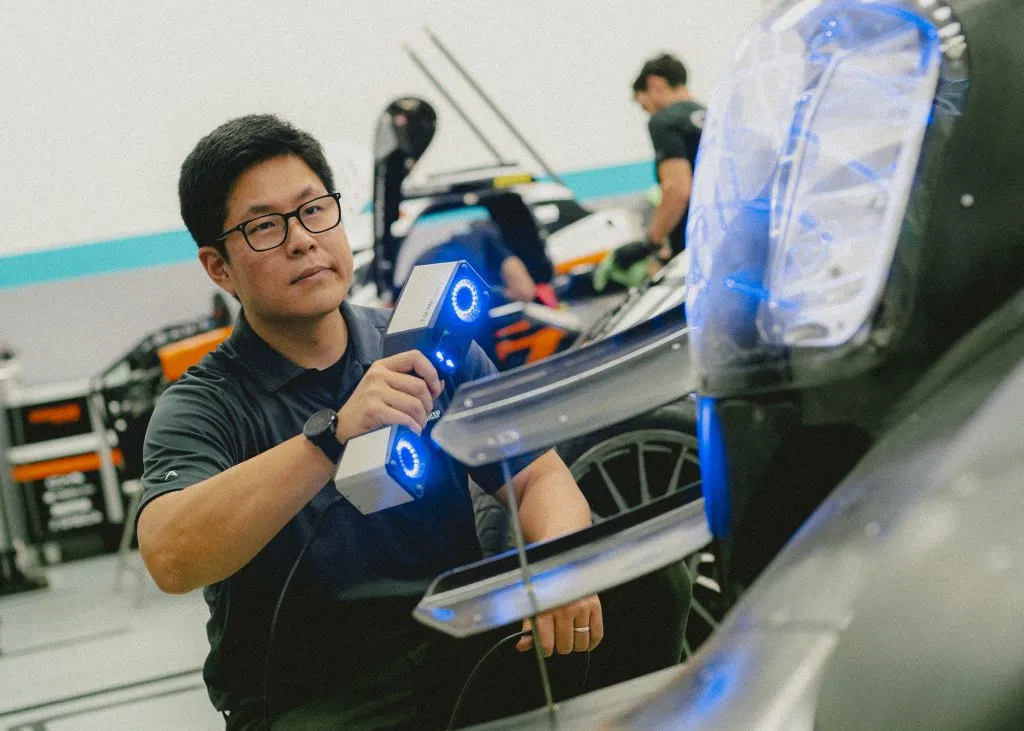
The car was 3D scanned in the owner’s reception area and workshop; both areas had good stable lighting but no direct sunlight because this would affect the data capture. There were some dark carbon fiber areas around the wishbones – those were sprayed very lightly. Light reflections around the spoiler areas were also sprayed lightly to ease and quicken the capture. Paul recommends a few tips on how to capture car parts easier.
“Adding something behind the wishbone suspension units, like paper with graphics, enables the scanner to track the texture and capture the geometry of the thin wishbone. We liked using Artec Eva because it needed no calibration and was quick to set up and capture in these tricky areas.” Most of the data was processed using standard settings and without texture during global registration to speed up the process. The Artec and Steinbichler big data sets were then merged in PolyWorks.
The completed 250 MB STL 3D model, approximately 8.5 million triangles, was then fully reverse engineered at Delcam using PowerSHAPE Pro. Complex doubly-curved regions were most suited to surface modeling, while more prismatic parts could be formed most efficiently using solids.

A close-up of the scale model of the F1 car showing fine detail of the 3D model
The car was surfaced at full size. Once it was scaled down, some of the thinner areas, in particular the wishbones and spoilers were thickened up in PowerSHAPE. The digital copy of the car was then 3D printed on a Stratasys Objet Eden 500V with a print layer of 0.016 mm.
Related TriMech Solution
Learn more about the solutions featured in this Case Study:
More Case Studies and News Stories
Accelerating Race Ready Engineering Through Digital Twins and Advanced Manufacturing
How Capone Motorsports cut design cycles in half and unlocked new performance potential.
How Sam Hunt Racing Gained Time, Control, and Performance Through In‑House Metrology
A young and punchy NASCAR team builds engineering independence and protects on‑track performance with TriMech and ZEISS.
How Ford Developed the New Explorer Using Formlabs SLA and SLS 3D Printers
Learn how Ford integrated high-speed, in-house 3D printing to reduce prototyping times from days to minutes, allowing for rapid validation of complex designs for the...