


How to Reduce Glare When 3D Scanning with Artec Scanners
 By Brian Metzger, last updated March 24, 2022
In this blog, we walk through the challenges of 3D scanning objects that are dark and shiny and how to reduce glare in your 3D scans.
The Problem
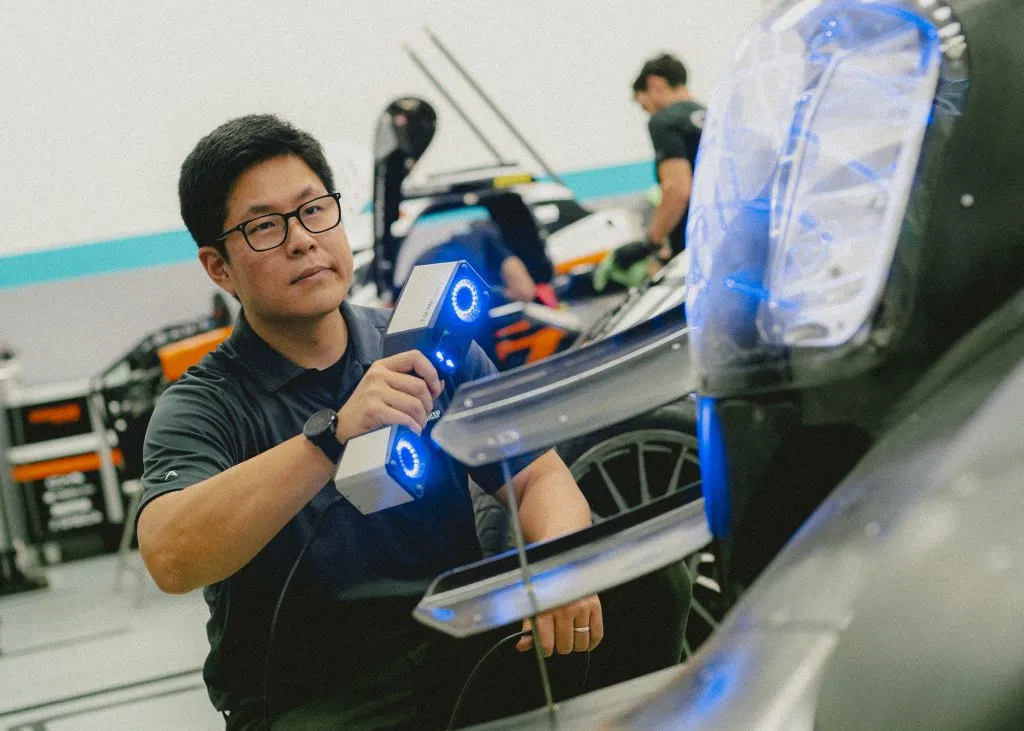
In this case, I have chosen to scan a vase. In the initial scan, you can see light reflections in different areas where I needed to rotate the object to capture different angles. This did not require any spray or markups, however, the texture needs improvement. I used the Artec Eva 3D scanner, which offers high-definition 3D scanning and is ideal for quick, textured and accurate scans.

Glare on 3D scan
How to Reduce Glare
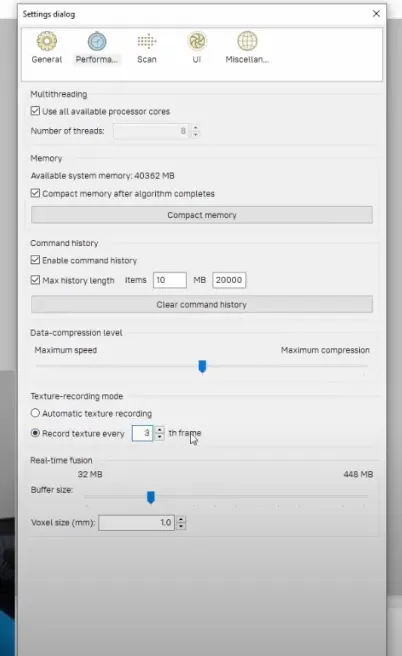
Artec Studio now has a glare reduction tool to help deal with this. but it requires some forethought prior to scanning. Artec Studio is set to automatic texture recording, where it only records texture for what the software deems necessary. I need to oversample the texture so that I can use the Reduce Glare tool to the fullest extent.
What I need to do before I use the glare reduction tool:
- Go to File and select Settings
- Select Performance and change the texture-recording mode from automatic texture recording to record texture every 3rd frame.
Texture recording settings
For the Artec Leo, you will need to navigate on the touchscreen to Settings > Scanning > Save Supplementary Texture.
It’s too late to fix the original scan, so I am going to rescan the vase with the new settings. As you can see, every third frame of my scan has the checker box in the texture column. Next, I am going to go into my texture tool. You can see that I have the reduce glare setting. The default setting is five but depending on your project, you may need to adjust this level.
The Outcome
The scan on the left is the original scan, and the one on the fight has a reduction level of eight that has been applied. The result is a scan with even color temperature and lighting all the way around the scan. I can then import the model into a rendering software like SOLIDWORKS Visualize and apply my own lighting conditions.

Reduce glare – vase before and after

Written by Brian Metzger
Brian Metzger has been an Application Engineer with TriMech since 2013. He received his CSWP in 2013 and became an Elite AE in 2015. He is the Technical Lead on 3D scanning and is an expert with simulation products.
Before joining TriMech in 2013, he worked as a Mechanical Engineer at Nucsafe (focusing on X-ray design) and a Senior Engineer at Savannah River Remediation.
Related TriMech Solution
Learn more about the solutions featured in this Article:
Need a Quote for Advanced Manufacturing?
Contact a TriMech manufacturing expert today and get answers to your questions
Related Content
More advanced manufacturing content from the TriMech team